
When I first started working with epoxy tables, I honestly didn’t know quite what to expect. I’d already built solid wood furniture and custom pieces, but introducing resin into a live edge slab was a whole new challenge. Over the years in Ottawa, I came to realize that crafting an epoxy table is as much about patience and preparation as it is about vision and creativity.
Here’s what that early journey taught me, and how it shapes how I approach epoxy work today at Rough Around the Edges.
Trial, Error, and Understanding Resin + Wood
- Moisture & wood stability matter greatly
One of the first surprises was how sensitive resin is to moisture content. If a slab isn’t stable or well-dried, you get bubbles, adhesion issues, or cracks later. Over time, I developed stricter checks and drying protocols before even thinking about pouring. - Mold preparation is key
Learning how to build a leakproof mold, seal joints, and control resin flow was a steep learning curve. I went through a lot of trial and error — molds that leaked, resin creeping under forms, or edges that didn’t seal properly. - Choosing resin types & mixing techniques
Not all resins behave the same. Some cure faster, some are more forgiving with color pigments, others are more viscous. I tested multiple brands and types to find what works well with the woods I select, in Ottawa’s climate, and in various slab thicknesses. - Fire management and exothermic heat
Resin generates heat as it cures. In thick pours, that heat can cause issues — discoloration, cracking, or damage to the wood. Learning how to pour in phases, use cooling or additives, and control ambient temperature became essential. - Finishing & leveling challenges
After a pour, getting a perfectly flat, smooth, flawless surface without sanding into the wood or overcutting resin layers took technique refinement. I practiced patiently leveling, wet sanding, and polishing until the two materials blend seamlessly. - Letting curing time breathe
Early on, I underestimated how long a resin table really needs to stabilize. A rushed finish or handling too soon can leave the surface prone to scratches, soft spots, or uneven gloss. Now, I always include buffer time in every epoxy project schedule.
What Those Lessons Mean for You in Ottawa (and Nearby Areas)
- Your epoxy table will be built on a foundation of stability
Before resin ever touches wood, I ensure moisture levels, warping risk, and slab integrity are all under control. - Quality molds & forms
Every epoxy project gets carefully designed mold work to prevent leakage or resin creep — so you don’t have surprises later. - Customized resin formula
Based on slab thickness, desired color, translucence, and wood species, I fine-tune the resin type, additives, and pour plan. - Poured in layers, monitored closely
Rather than one giant pour, I often build in phases, checking temperature and reaction, to ensure a flawless result. - Delicate sanding & finish work
The line between wood and resin becomes invisible. I take time to polish, blend the edges, and bring out natural grain and color harmony. - Patient curing & final checks
I always allow the table to mature, settle, cure, and stabilize before final delivery or surface use.
Choosing the Right Slab
The journey begins with selecting the perfect piece of wood. I look for slabs with character, walnut, maple, and oak are my favorites for epoxy projects. Each knot, grain pattern, and imperfection adds personality to the final piece. Choosing a slab that inspires you is key because it will be the centerpiece of the table.
Preparing for the Pour
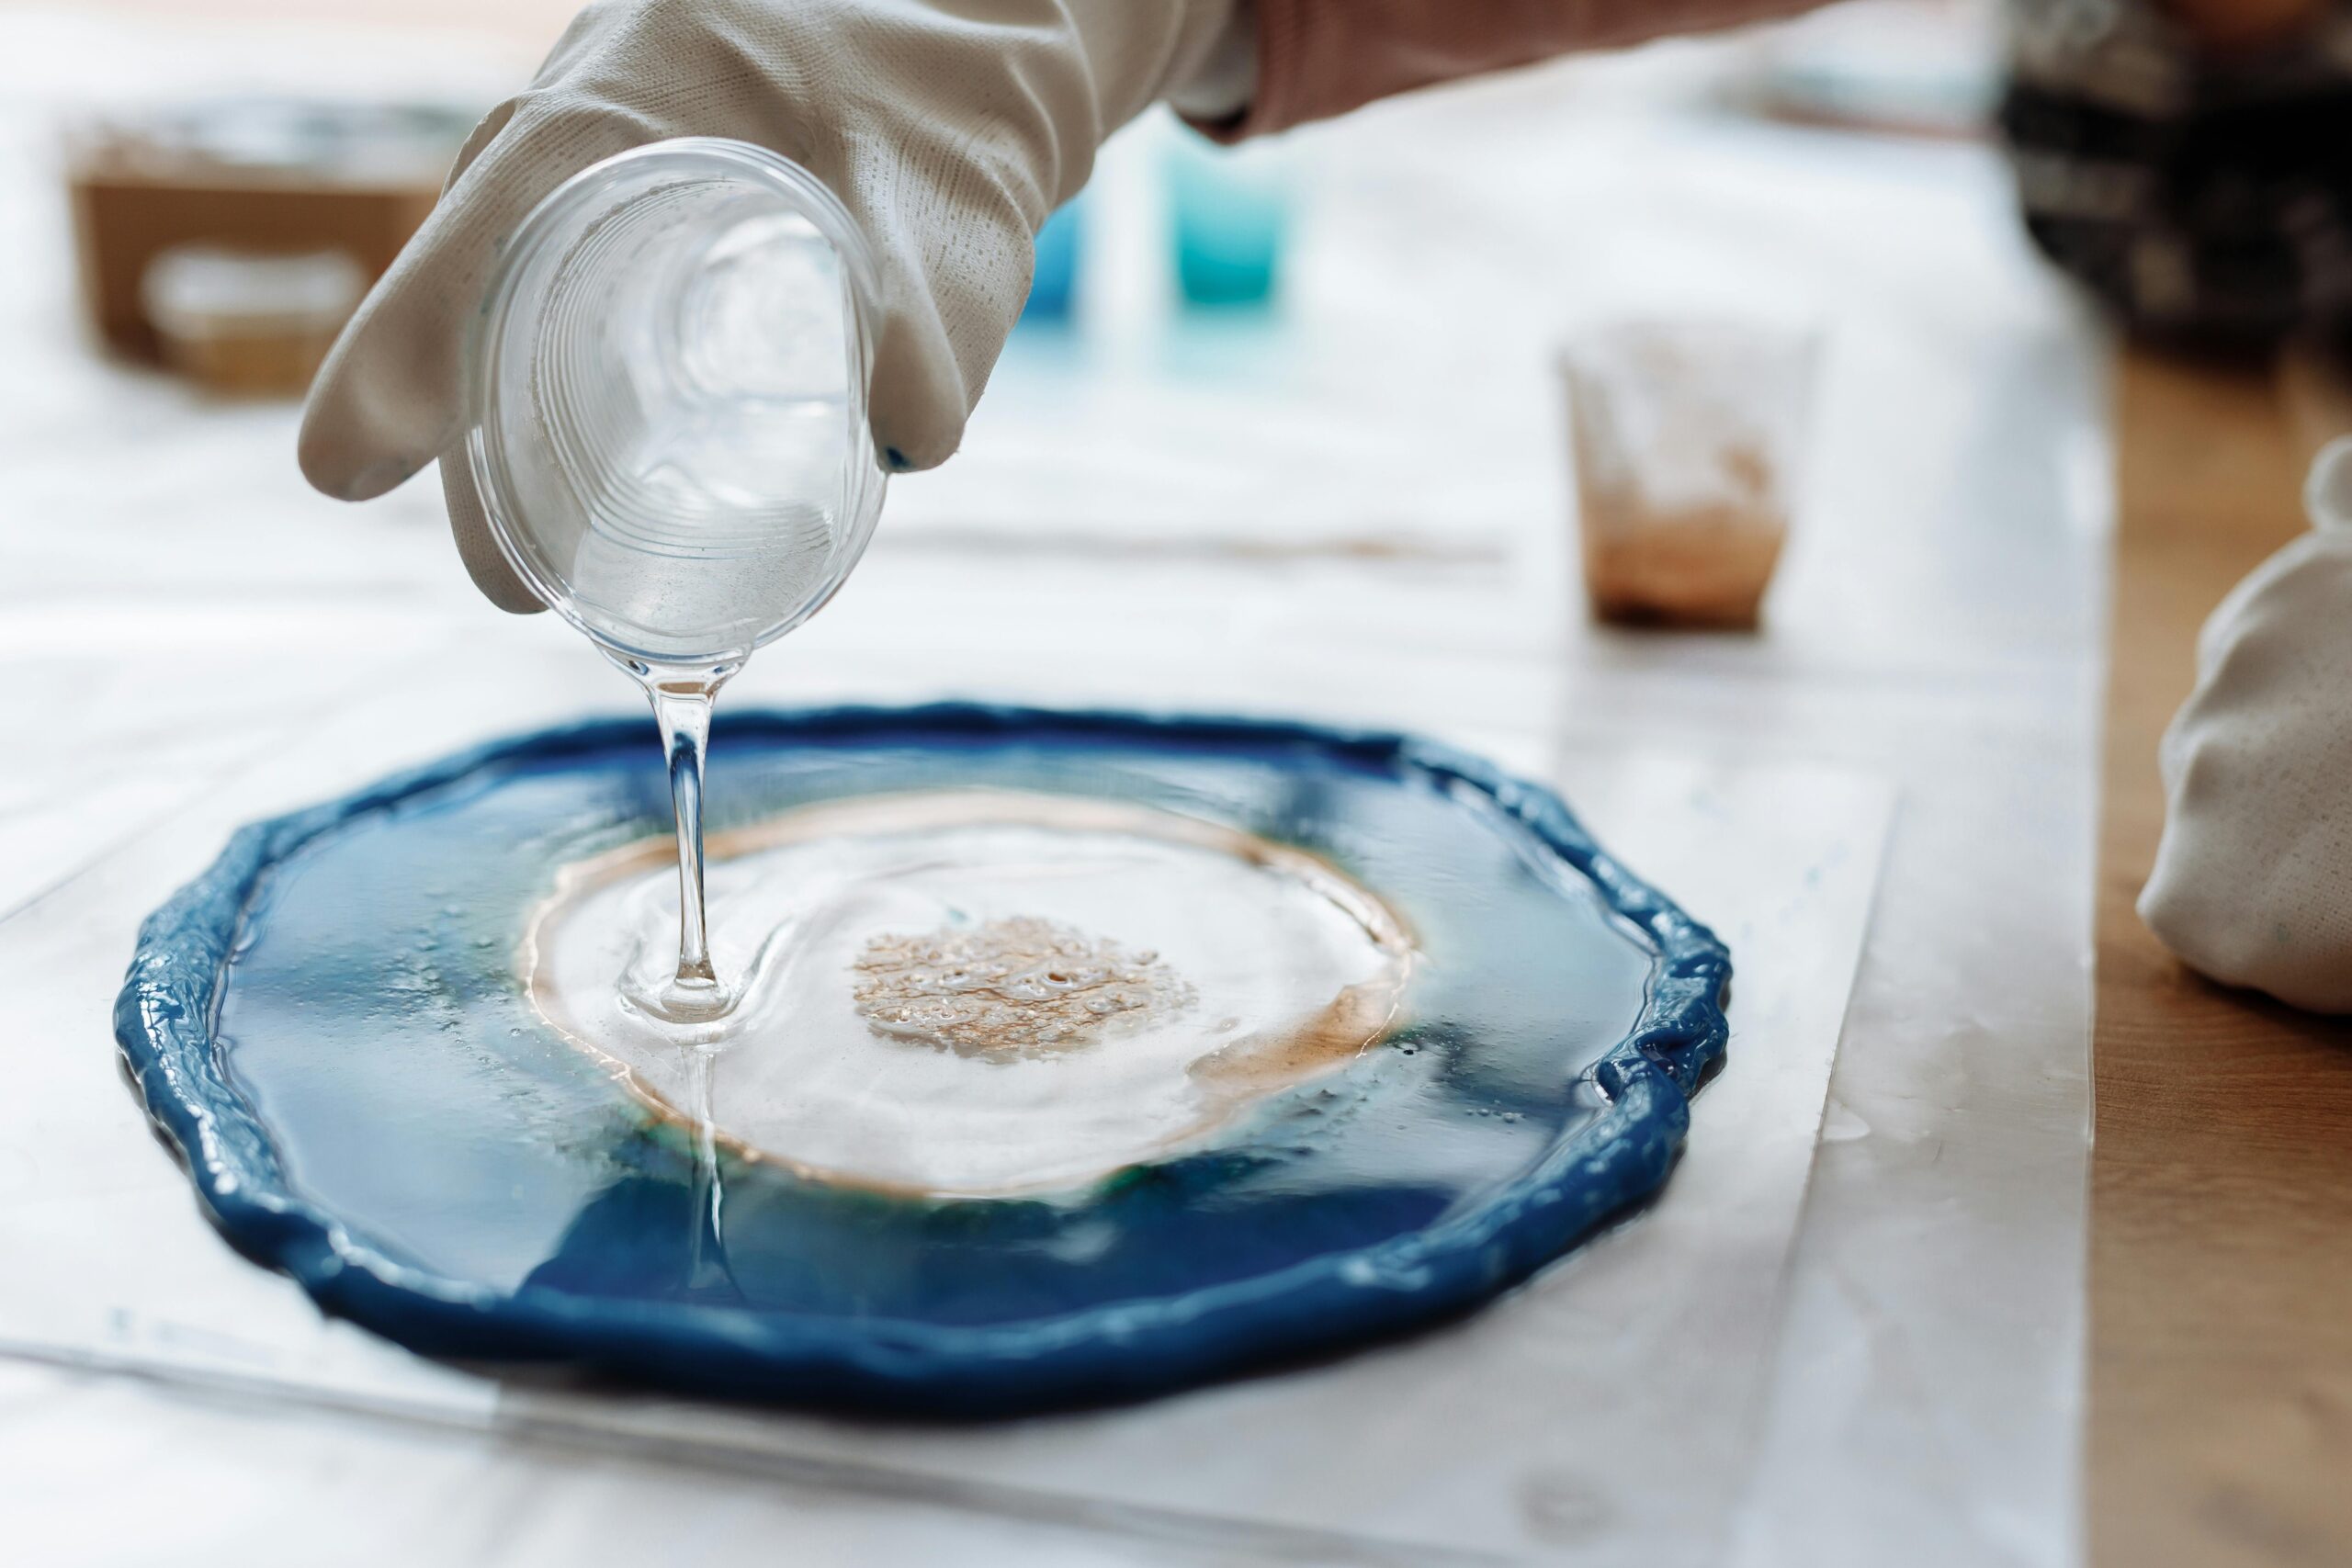
Preparation is everything. I had to ensure the slab was properly sanded, sealed, and leveled. Any gaps or cracks must be filled carefully to prevent resin leaks. Mixing the epoxy itself was an eye-opener, the ratio of resin to hardener must be precise, and timing is crucial to avoid bubbles and uneven curing.
The Pour: Excitement and Challenges
Pouring the epoxy was exhilarating, and nerve-wracking. Watching the resin slowly flow over the live edge, filling every crevice, was like seeing a painting come to life. I learned to work in layers, allowing each to cure before adding the next, and to use a heat gun carefully to remove bubbles. Mistakes taught me patience and precision, skills every custom furniture maker needs.
Sanding, Polishing, and the Final Reveal
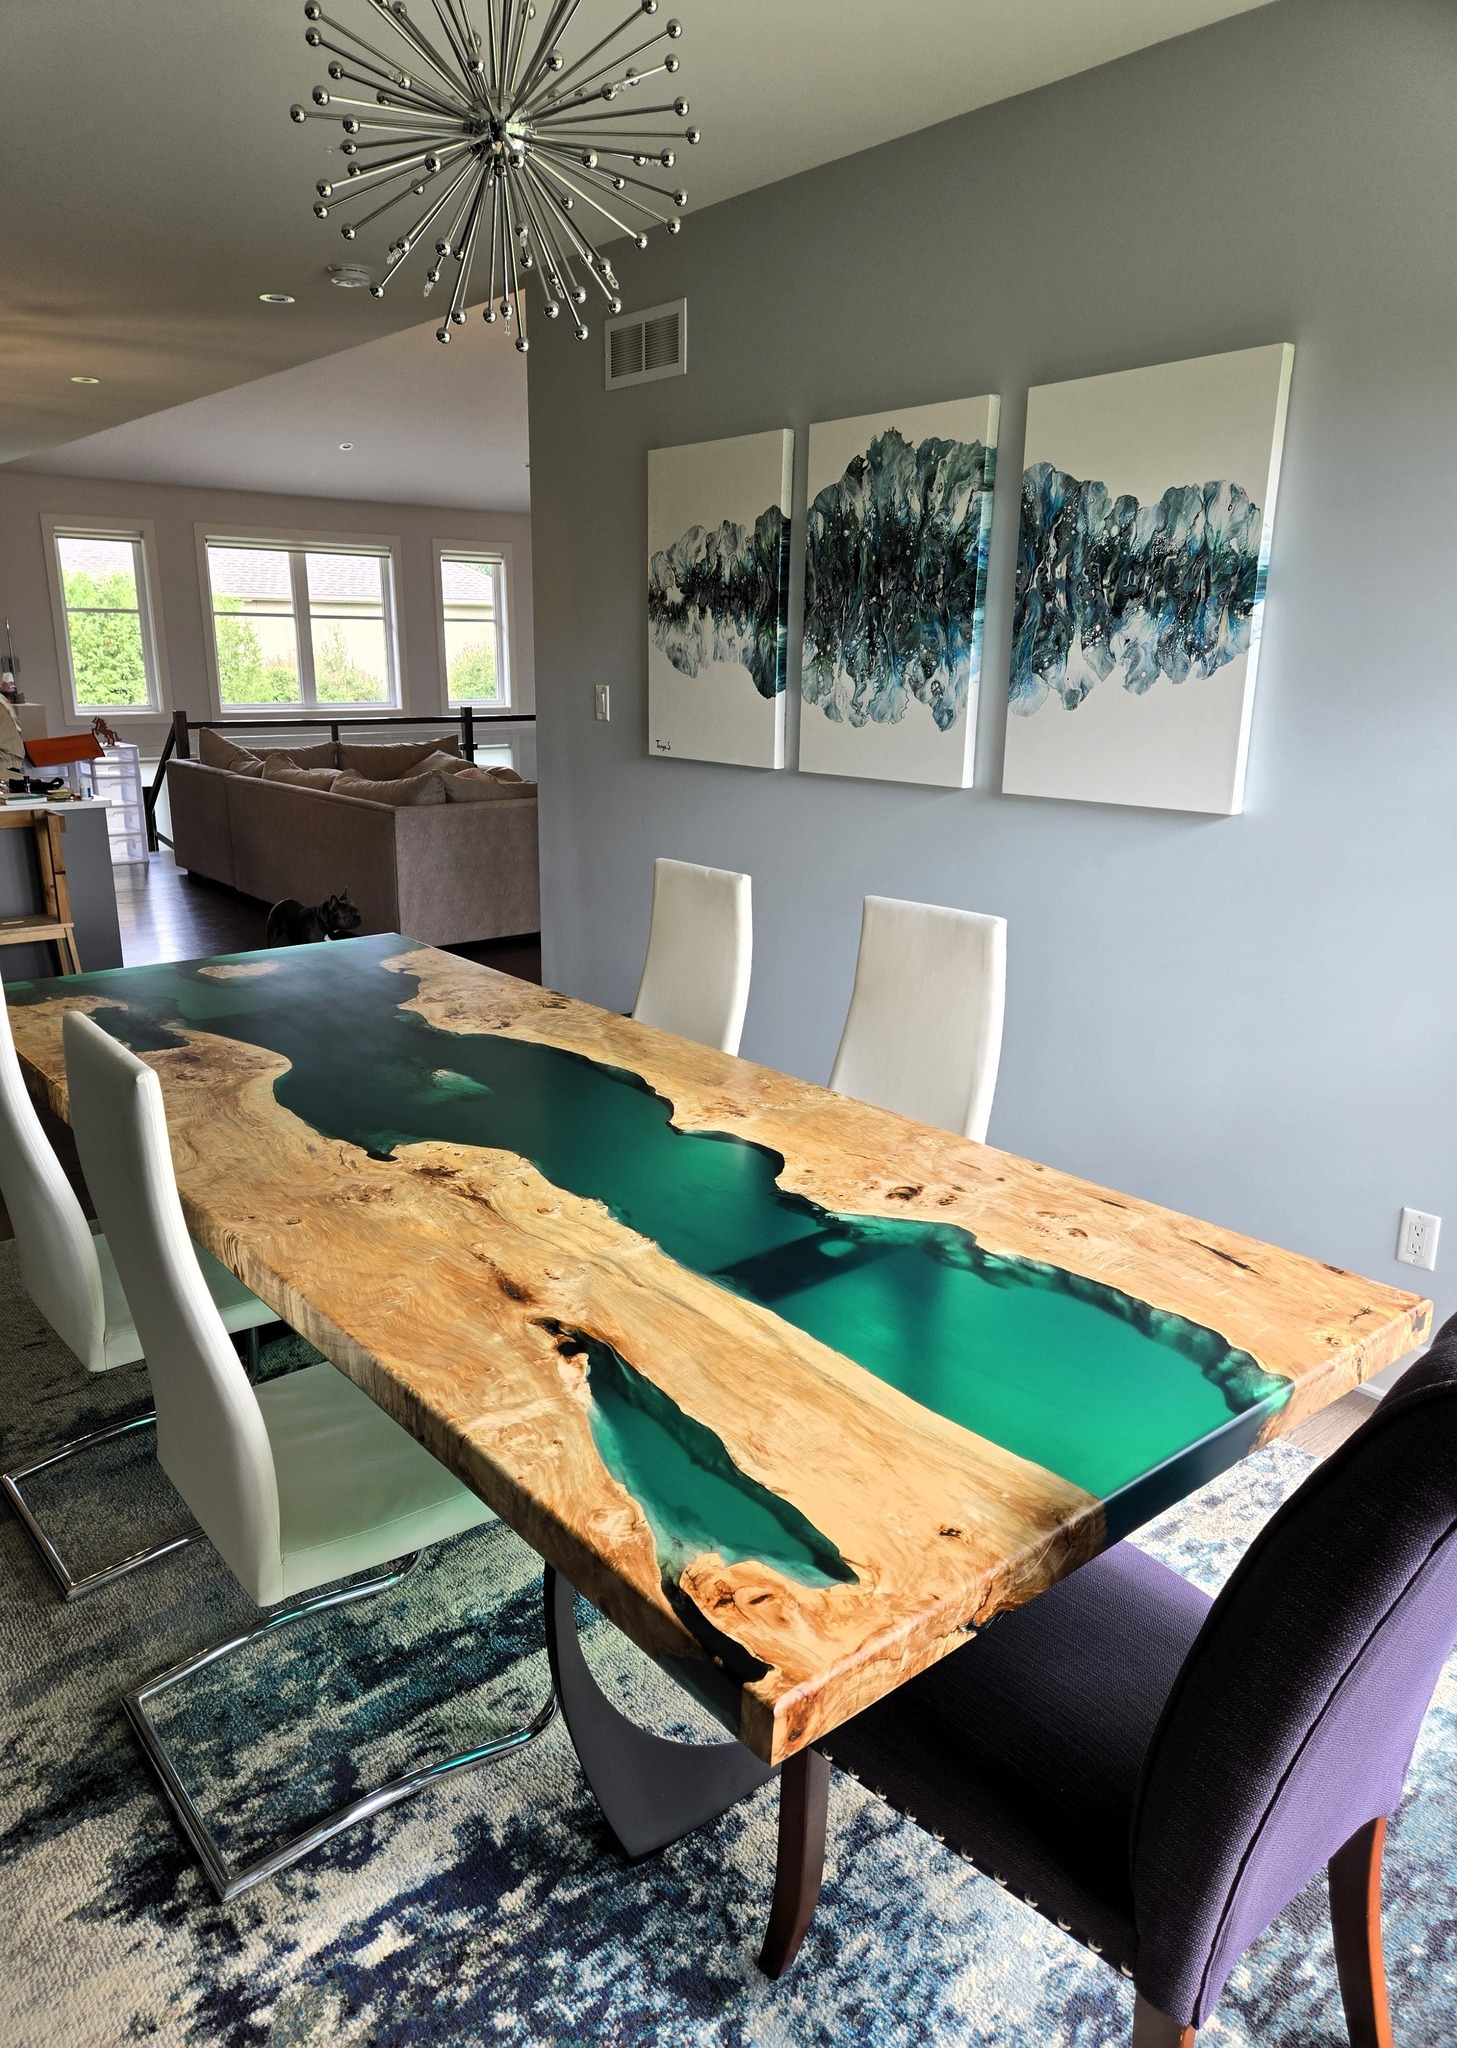
Once the epoxy cured, the real magic happened. Sanding and polishing the table brought out the depth and clarity of the resin. The combination of wood and epoxy gave the table a one-of-a-kind look that simply can’t be replicated with mass-produced furniture. Seeing the finished table in a client’s home, shining under the light, made every challenge worth it.
Why I Recommend Custom Epoxy Tables
An epoxy table in Toronto or Ottawa isn’t just furniture, it’s a statement piece. Each table is unique, tailored to your space, style, and personality. Live edge slabs combined with epoxy give you a piece of art you can use daily, one that will age beautifully over time.
Let’s Talk Epoxy Tables
If you’ve been dreaming of a live edge epoxy table in Ottawa or nearby areas, I’d love to walk you through the process. Show you slab examples, resin samples, and let you see how wood and resin can come together in a stunning, functional piece.
Reach out to me, share your space, slab ideas, resin color inspirations — and let’s build something you’ll want to live with and admire for years.
Let’s create a one-of-a-kind epoxy table together, contact me to get started.